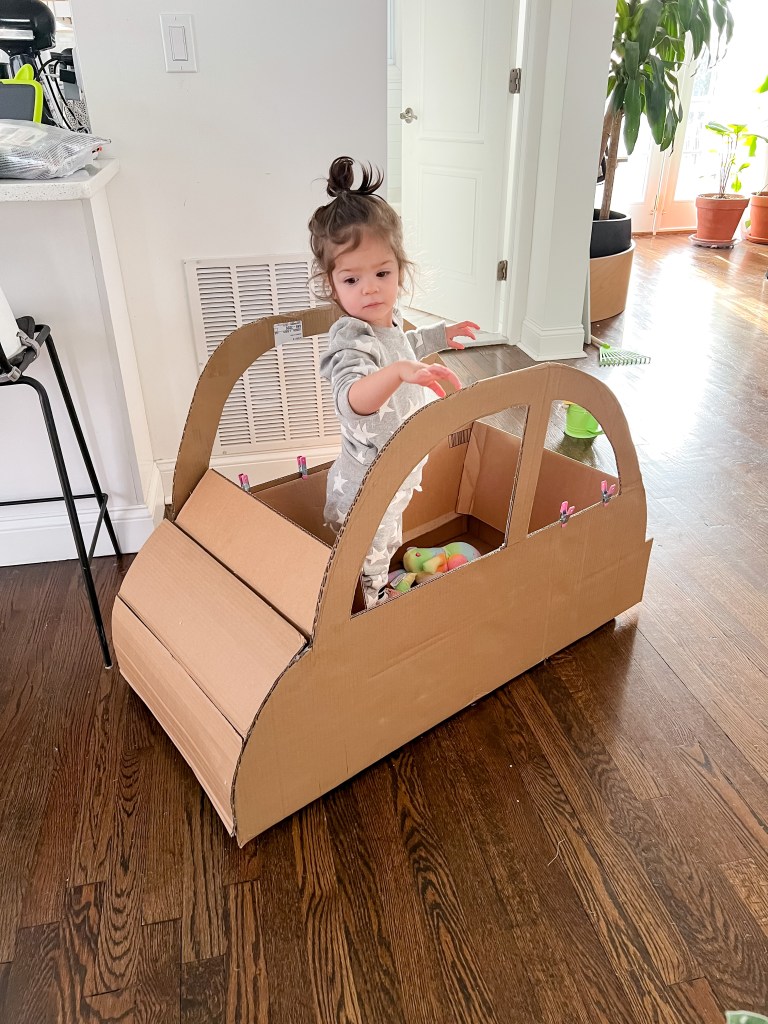
I’ve met some pretty amazing and inspiring creators on Instagram and Rosemary, from Hopscotch City, is one of them. I am so excited to have collaborated with her for this fun pretend play cardboard DIY.
Materials
- Hopcotch city printables (download them here)
- Punch Buggy template (download here) or you can free hand it
- 2-3 large cardboard boxes
- Cutting mat or an additional piece of cardboard to cut on top off
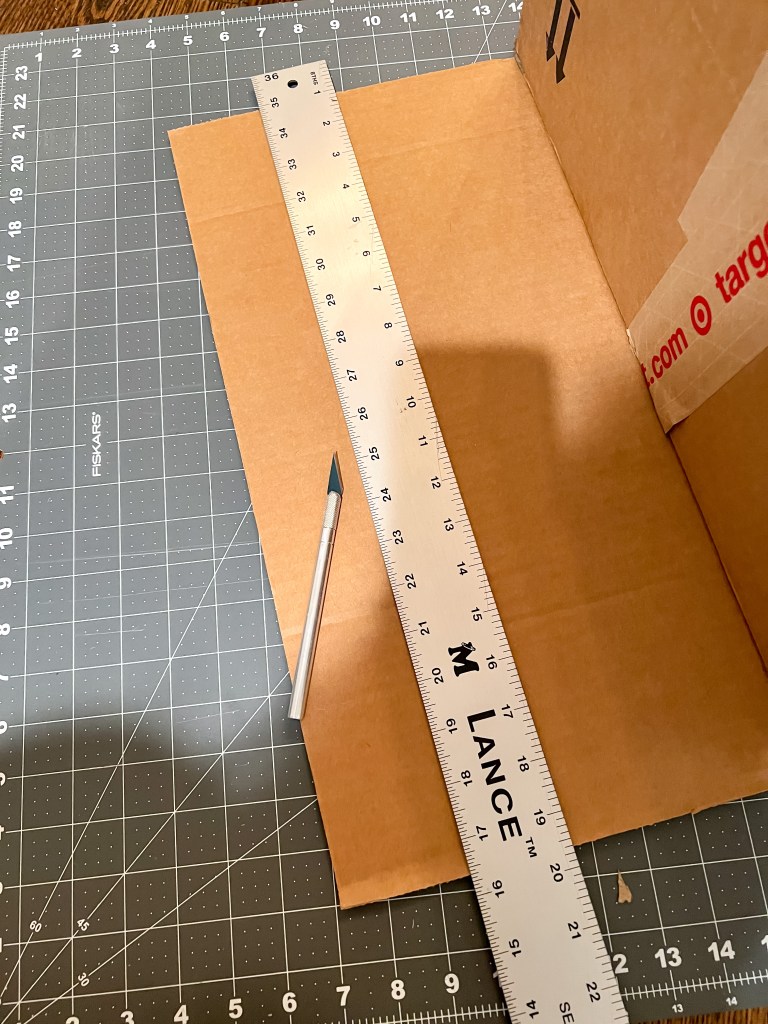
- Metal Ruler
- X-acto Knife
- Scissors
- Hot Glue Gun
- 1 Paper Fastener (optional)
- Glue sticks or Spray Adhesive
- Acrylic Paint
- Spray Paint in base color (optional)
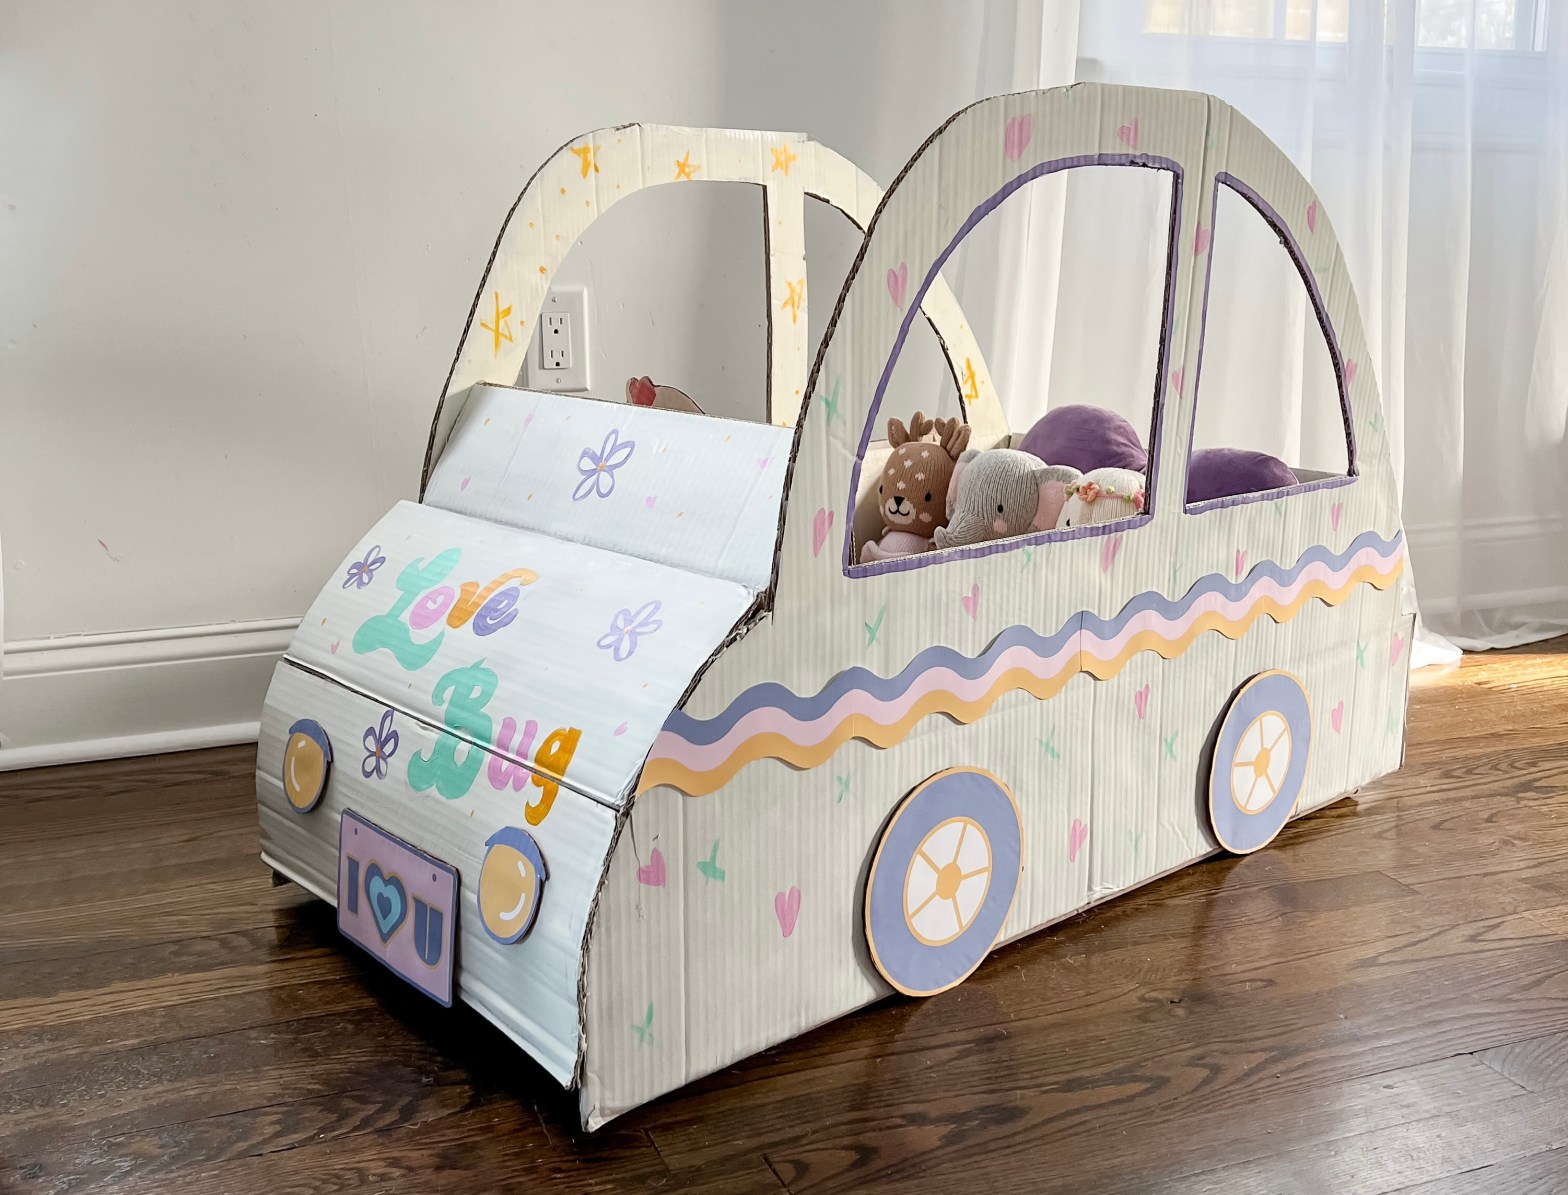
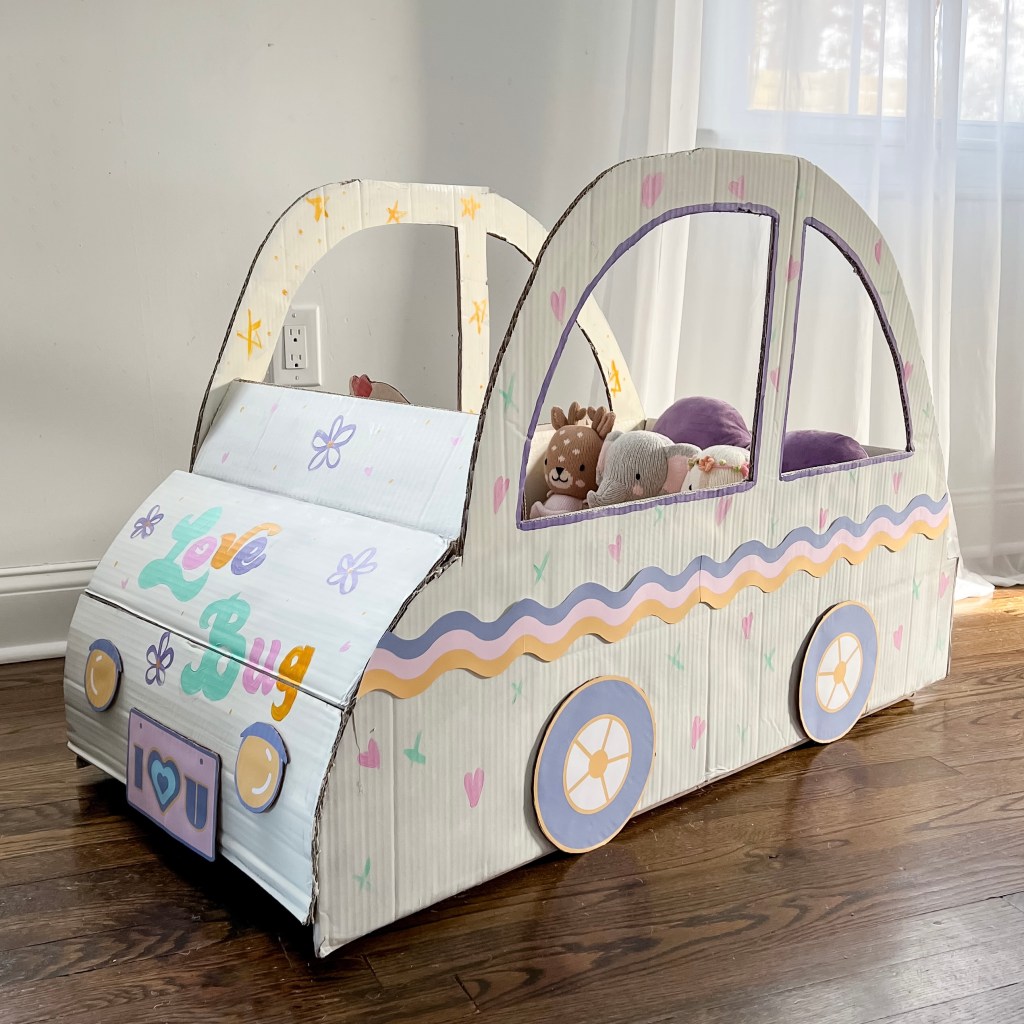
You do not need to get as detailed as I did here. Feel free to skip the hood or dashboard. You’ll still get the feel of the punch buggy without these details. The purpose is for you to have fun creating!
Process
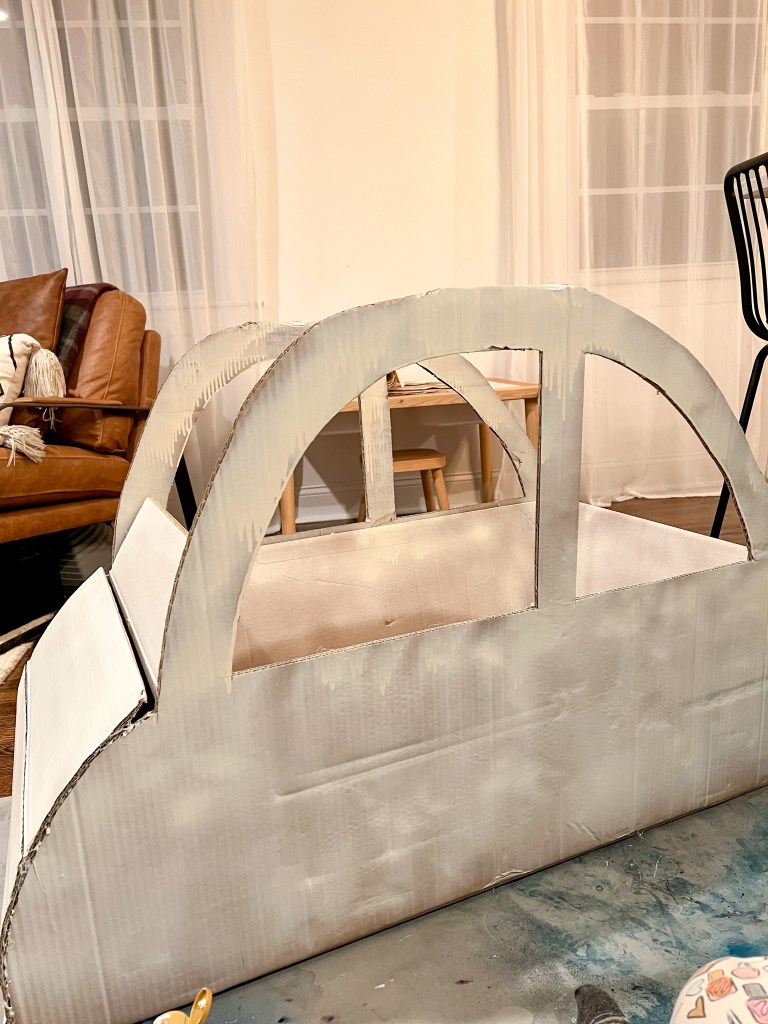
Car body
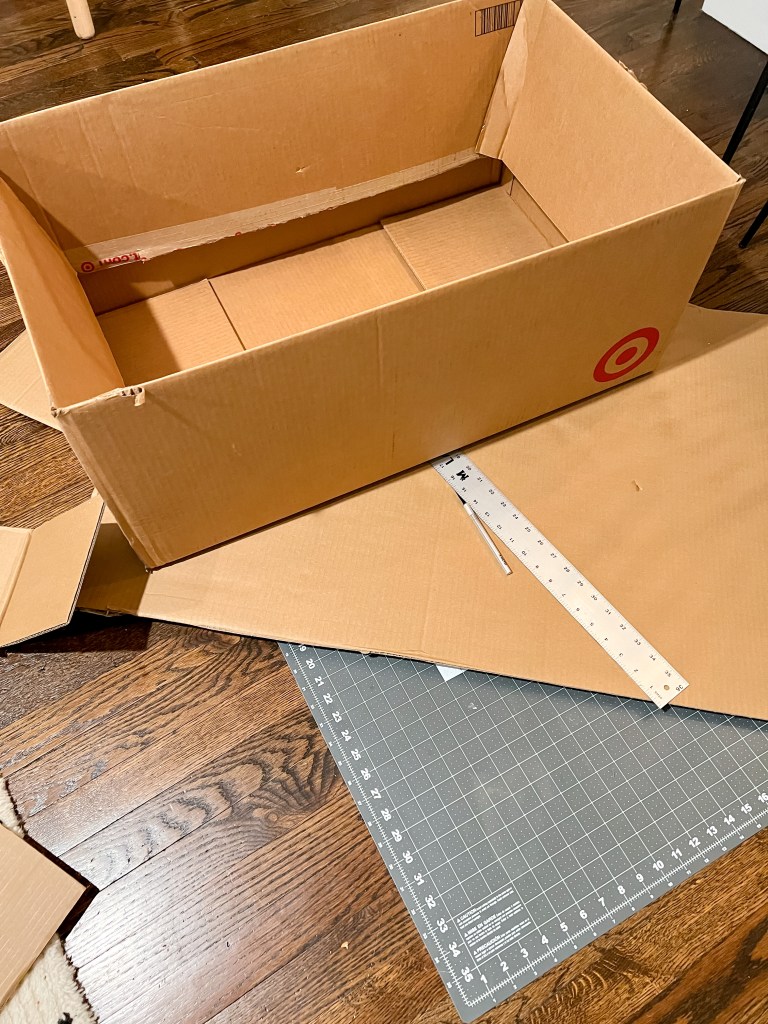
Fold the flaps into the main box or cut the side and back
flaps. I used a Target box sized 32″ x 19″ x 13″
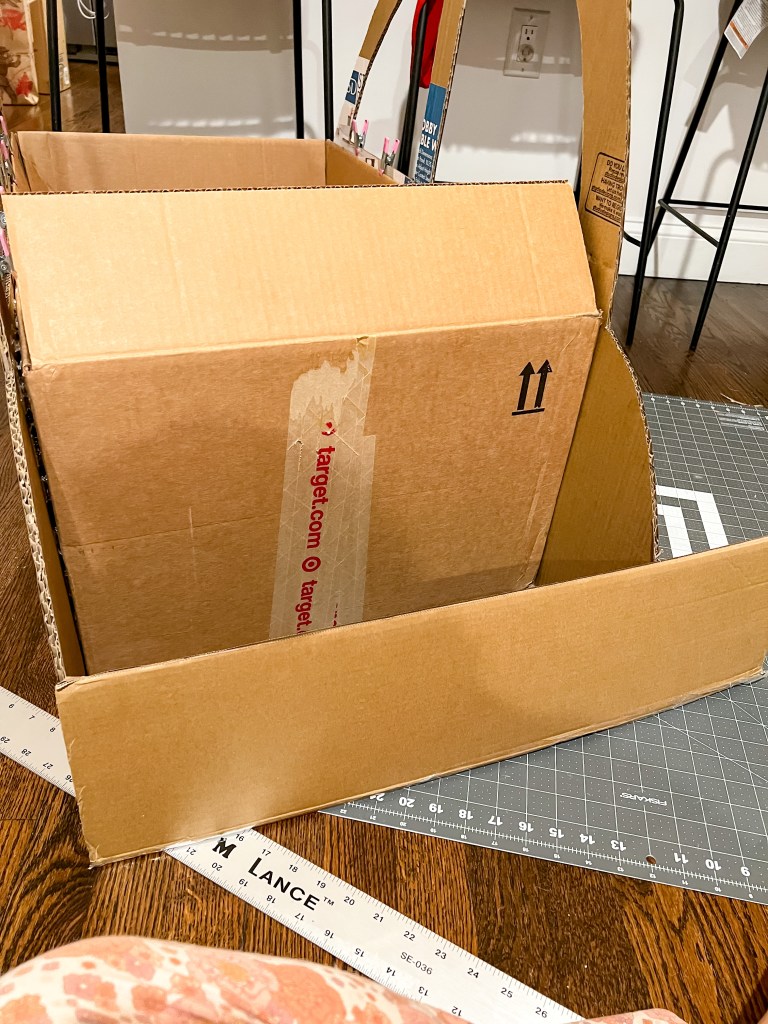
Optional: Leave the front, this will be your dashboard
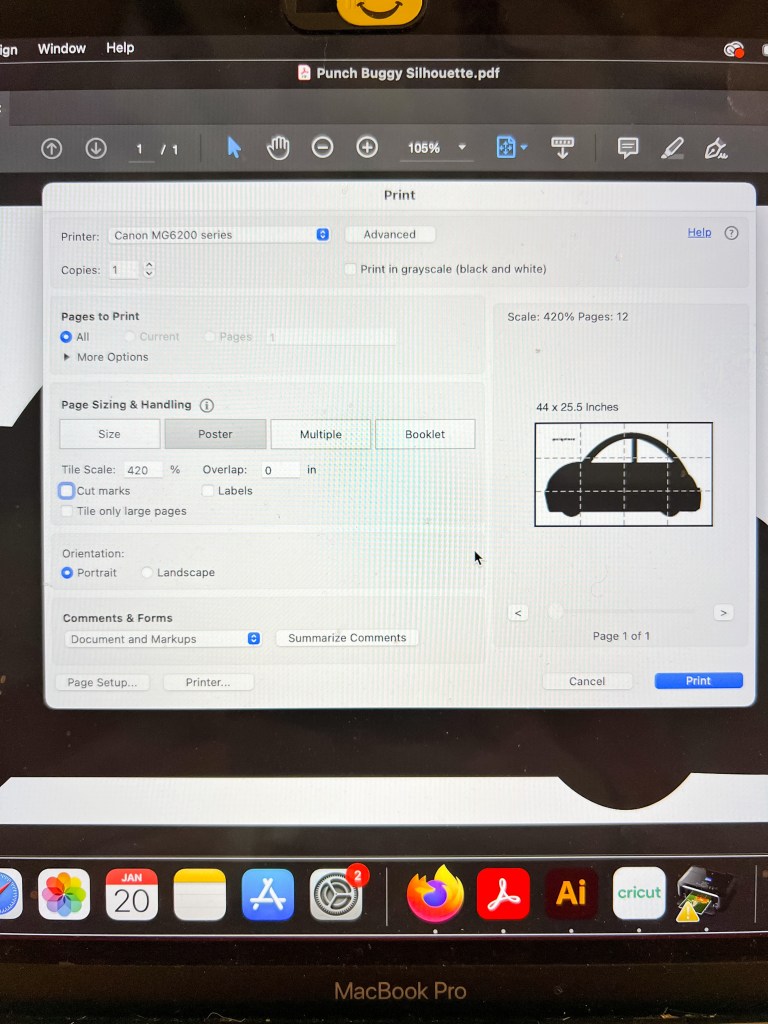
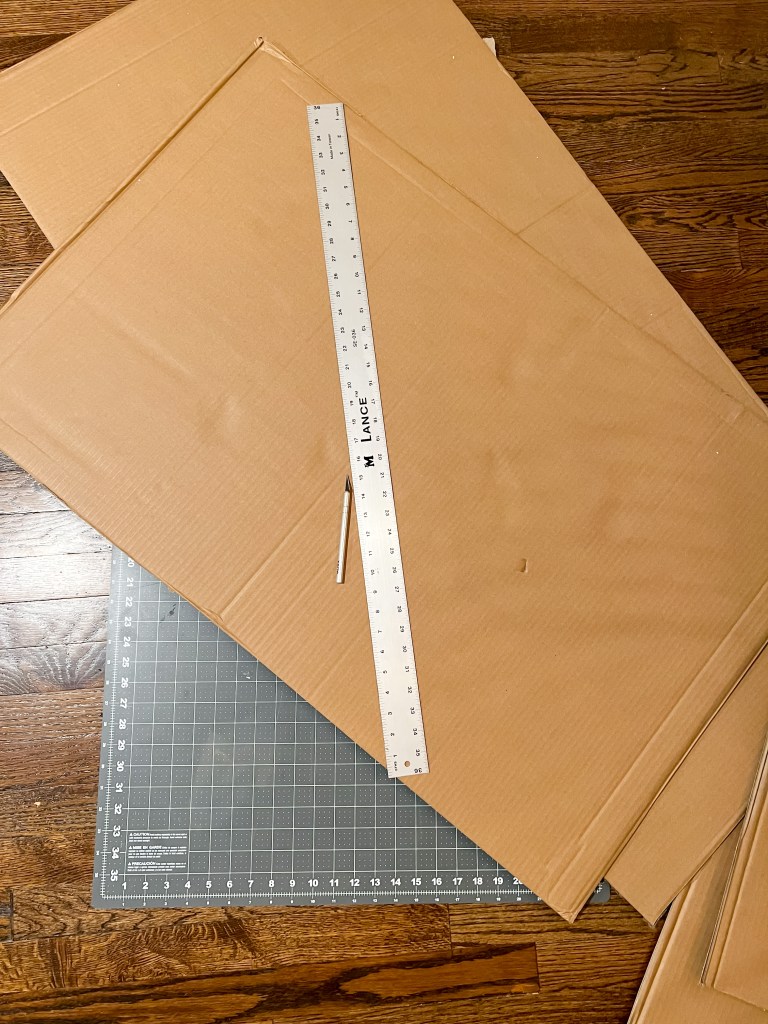
For the side panels, download the template and open it with Adobe
Acrobat
Select Poster for the Page Sizing & Handling
Scale according to the size desired
Print and assemble the template
Tape the template to the cardboard and trace
Cut the outline using an X-acto knife
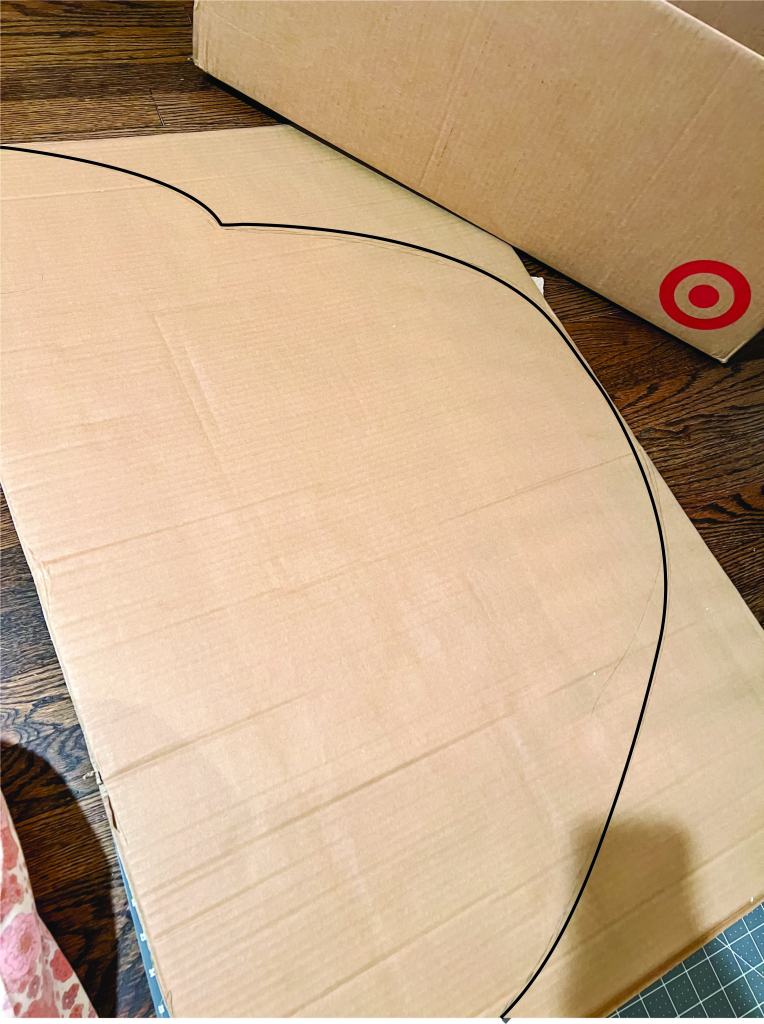
You also have the option to draw directly onto the cardboard
If you don’t have a large enough box, you can tape
several flat pieces together to form one large piece
You’ll need two of them, one for each side of the box
Flip the box upside down
Score the top of the front flap by lightly running the X-acto knife so it cuts through the first layer only
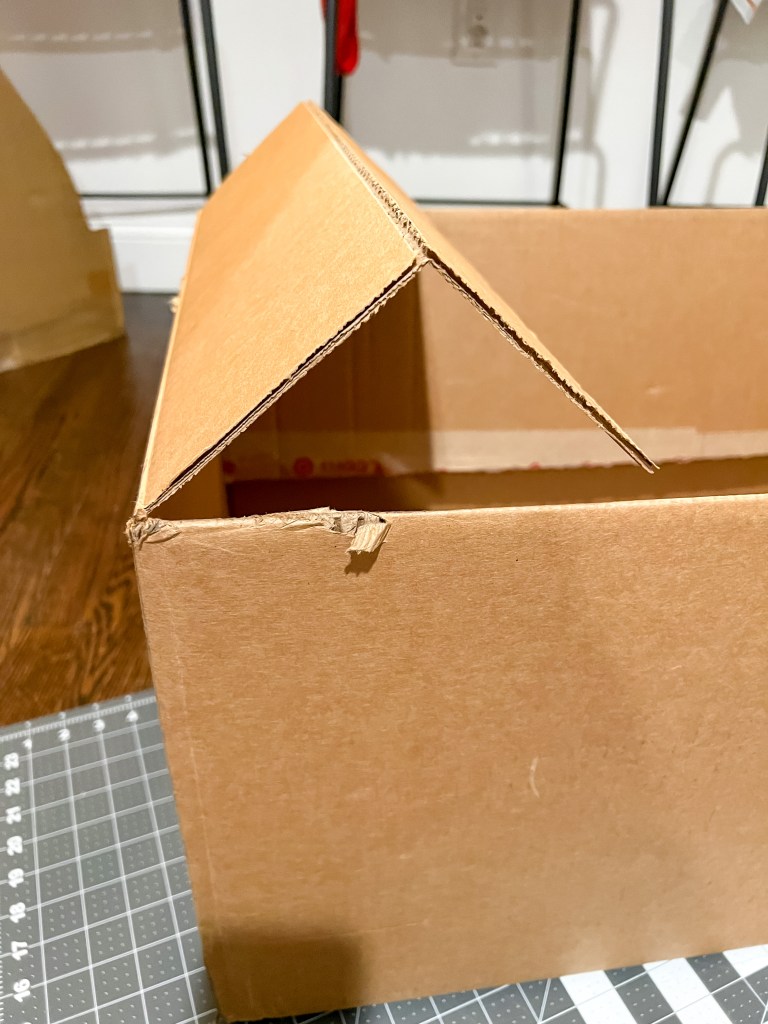
This will be your dashboard
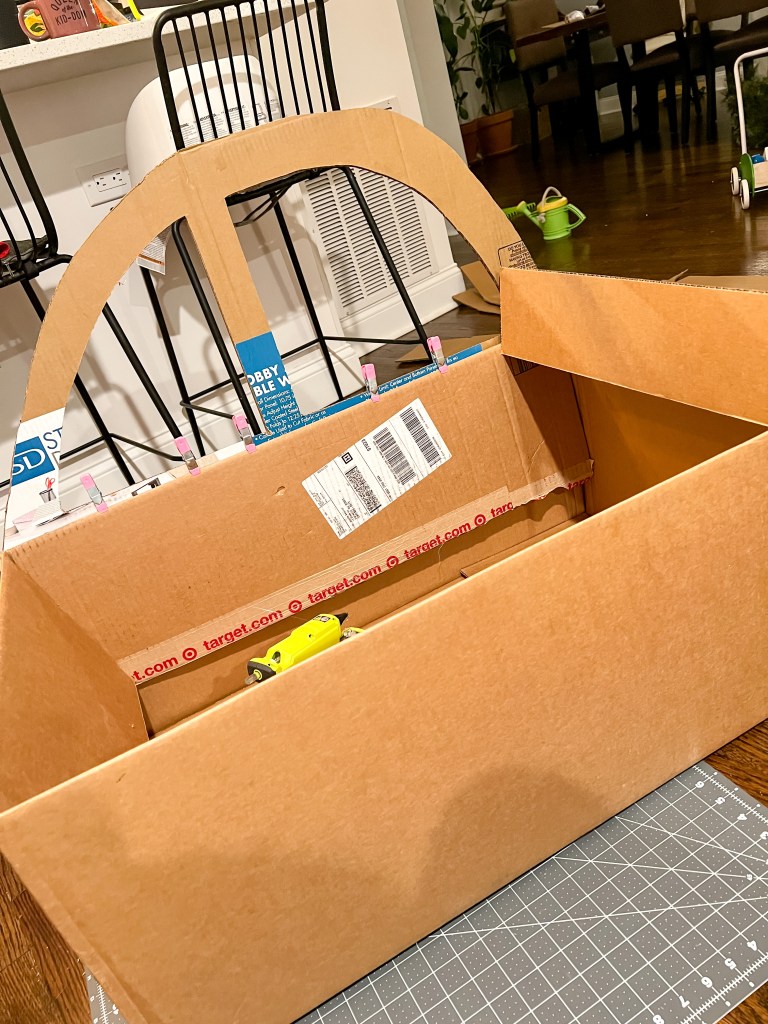
Hot glue the cutouts to the sides of the box
Use clamps or binder clips until the glue dries
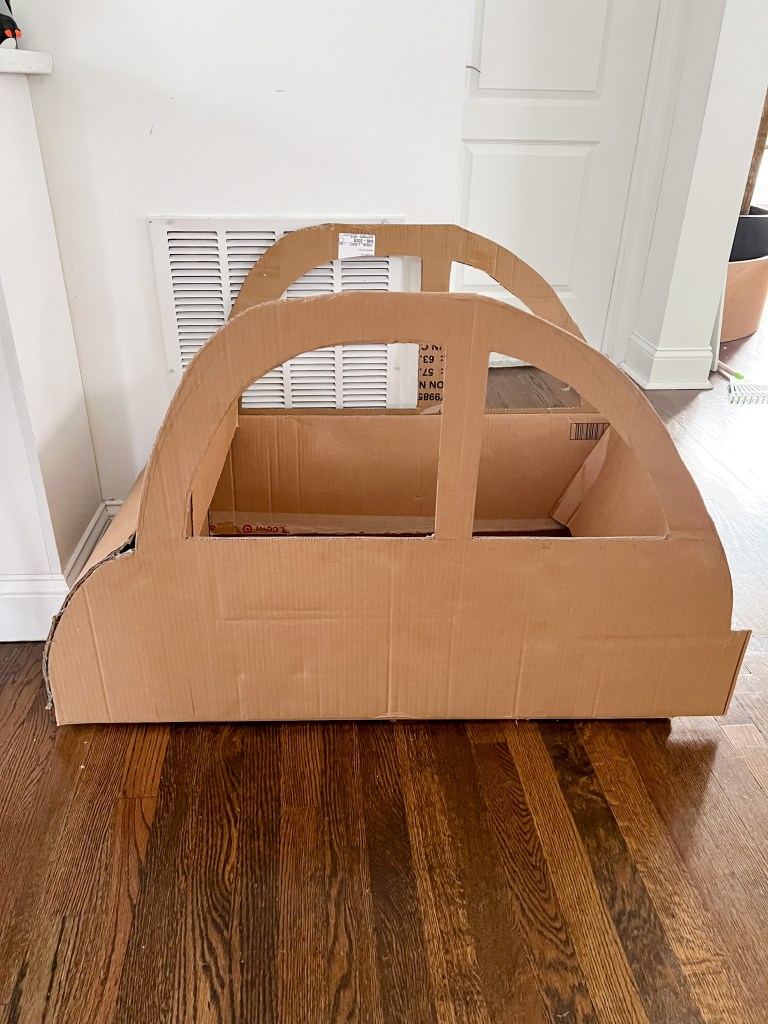
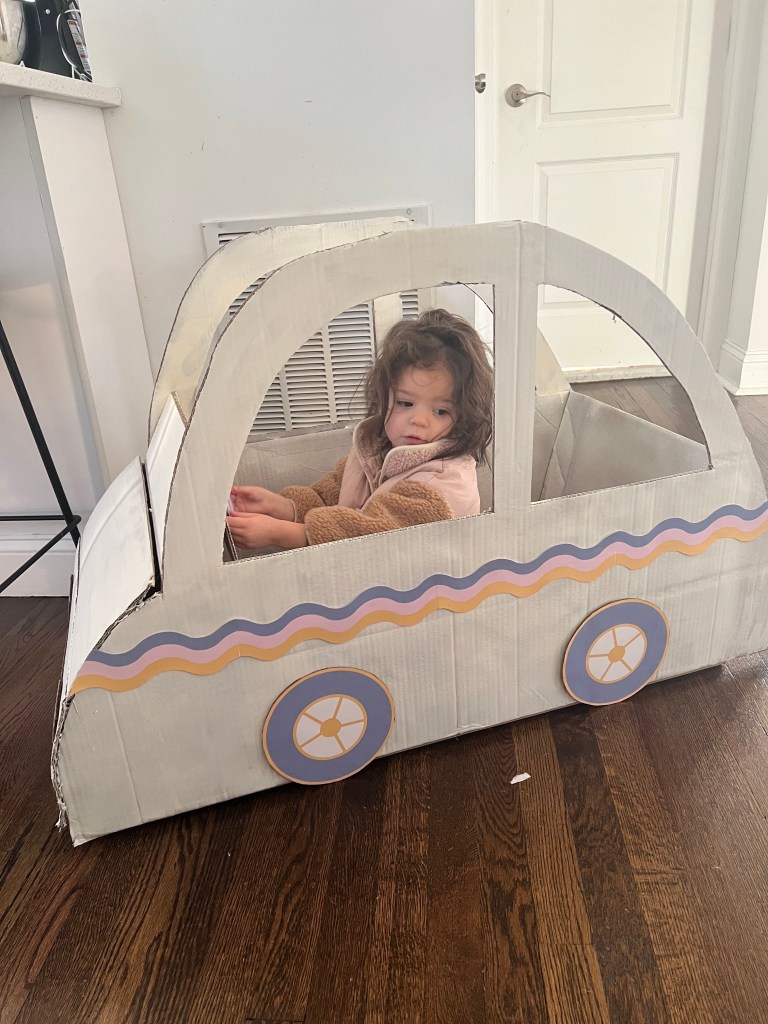
You can leave as is or finish the front of the car before painting and decorating
If you decide to add the hood of the car, measure the width of the car, and cut cardboard to size
You want to make sure the corrugate is running horizontally
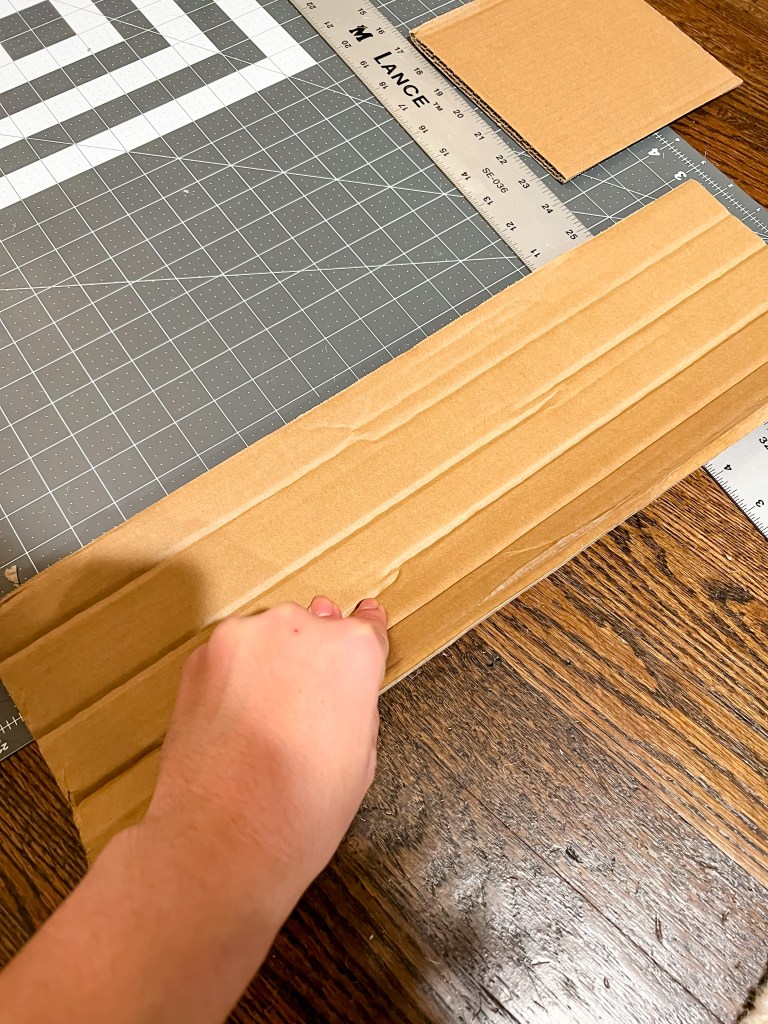
Fold the cardboard about every 2 inches to create a curve
I used two panels based on the cardboard scraps I had
Hot glue the front panels and press down until dry
Optional: Spray paint base layer
I used 1 can of Rust-Oleum 249073 Painter’s Touch 2X Ultra Cover, 12 Ounce, Satin Ivory Silk

Paint your next coat using a wide brush (or small paint roller)
I used FolkArt® Matte Acrylic Paint in Cottage white
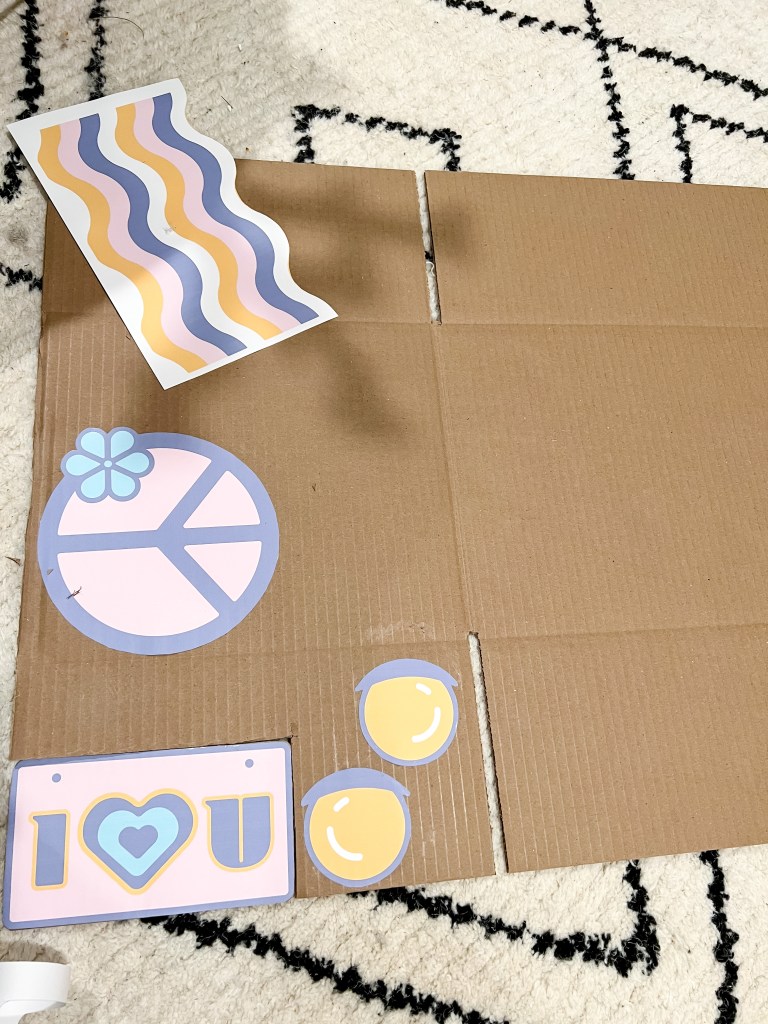
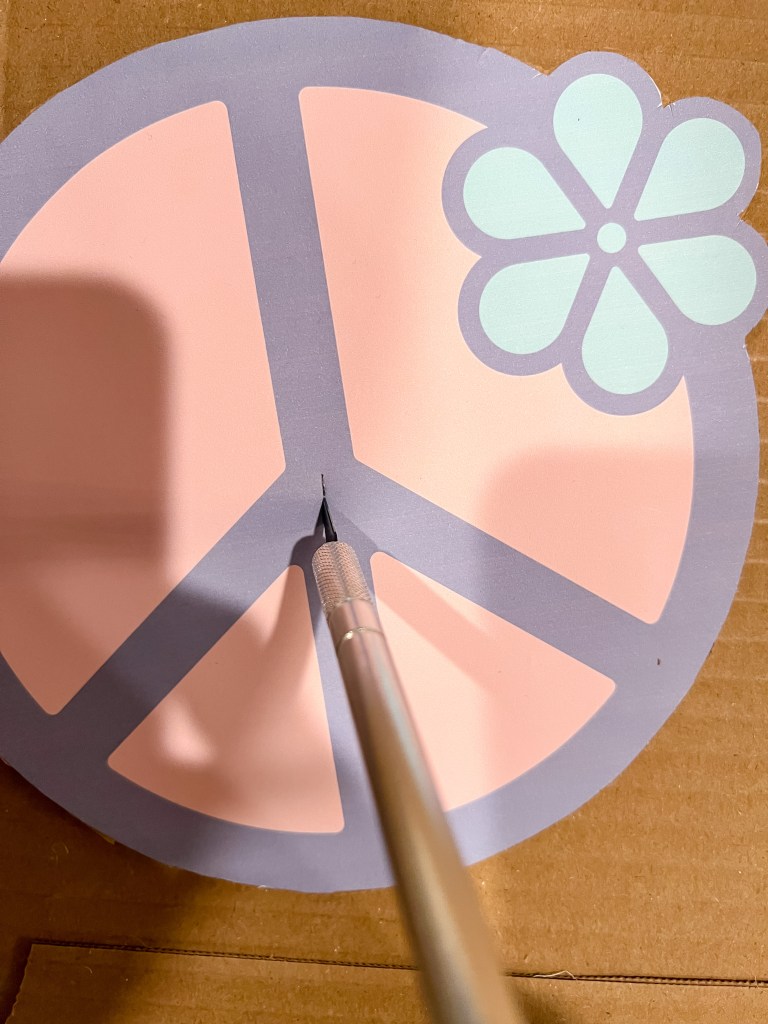
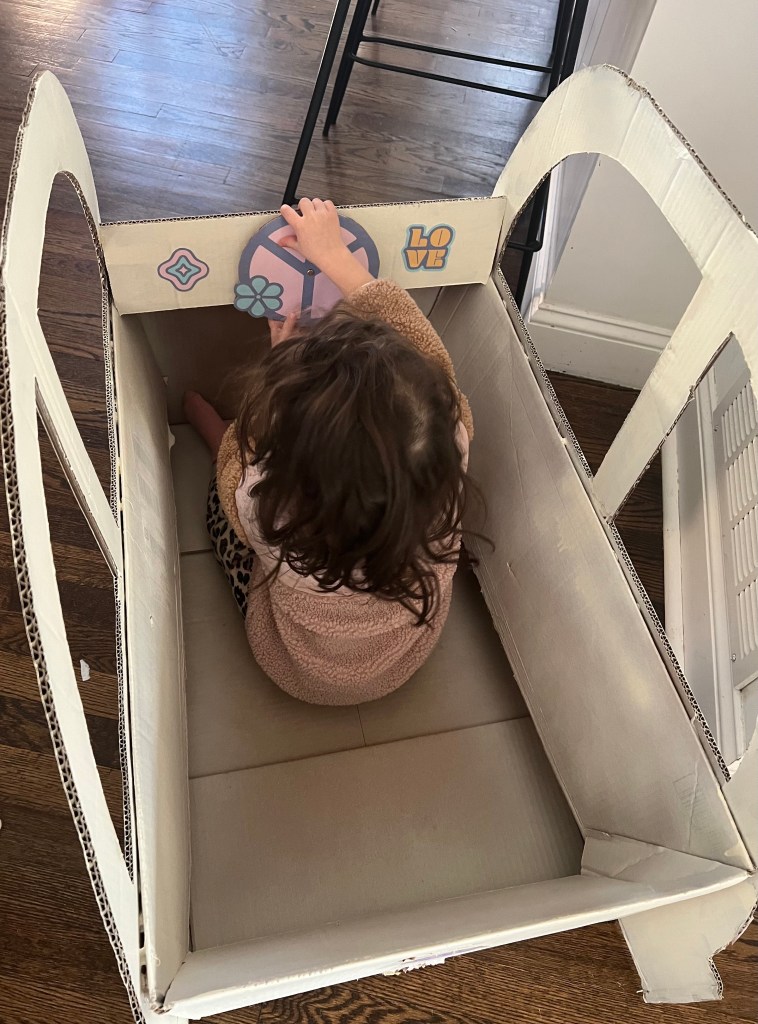
Cut out your Hopscotch city printables
Use glue sticks or spray adhesive to adhere to cardboard Cut out adhered images
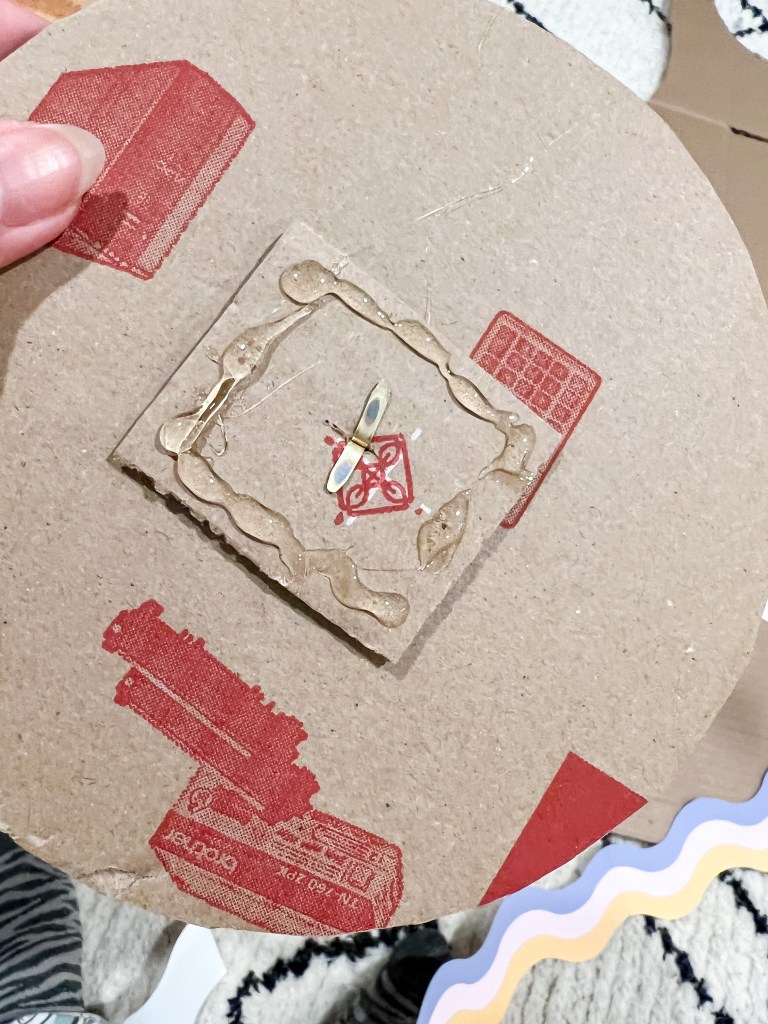
Optional: Cut a small slit at the center of the steering wheel
It should be large enough to fit a paper fastener
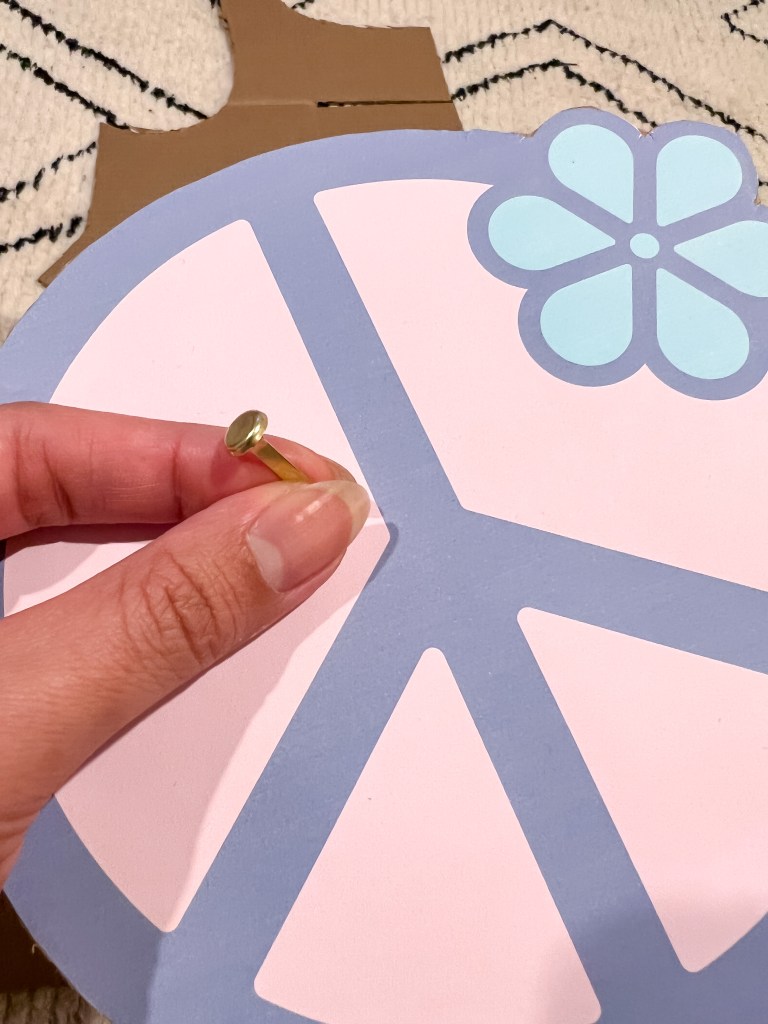
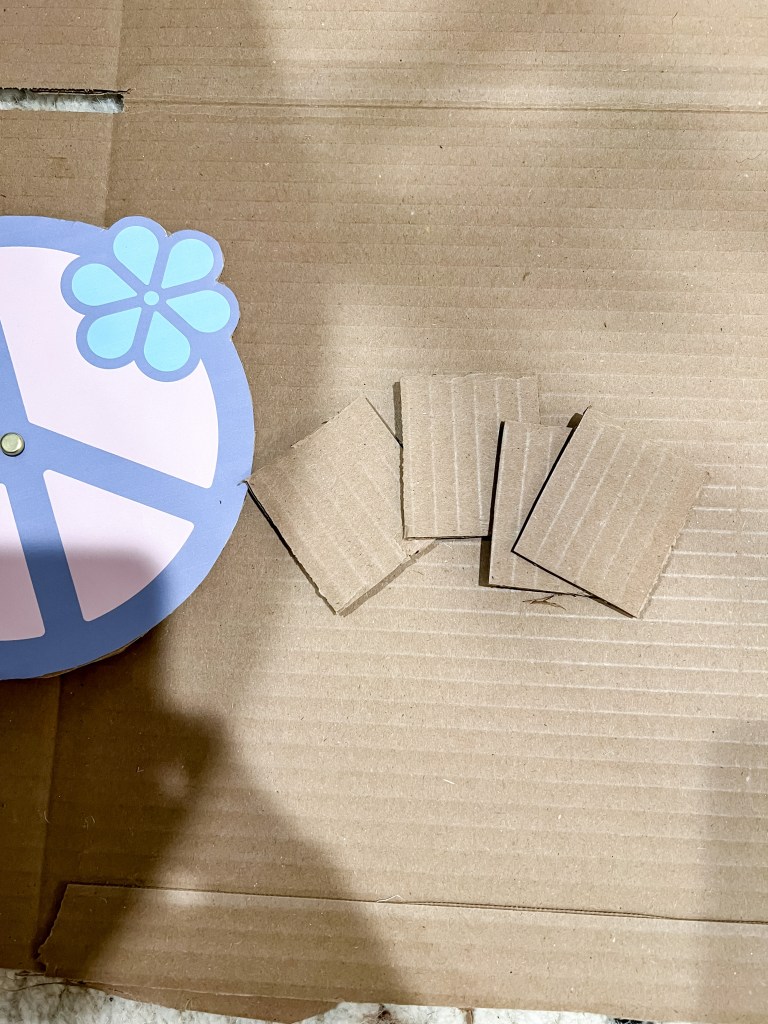
Cut out a few 2.5″ x 2.5″ of cardboard squares
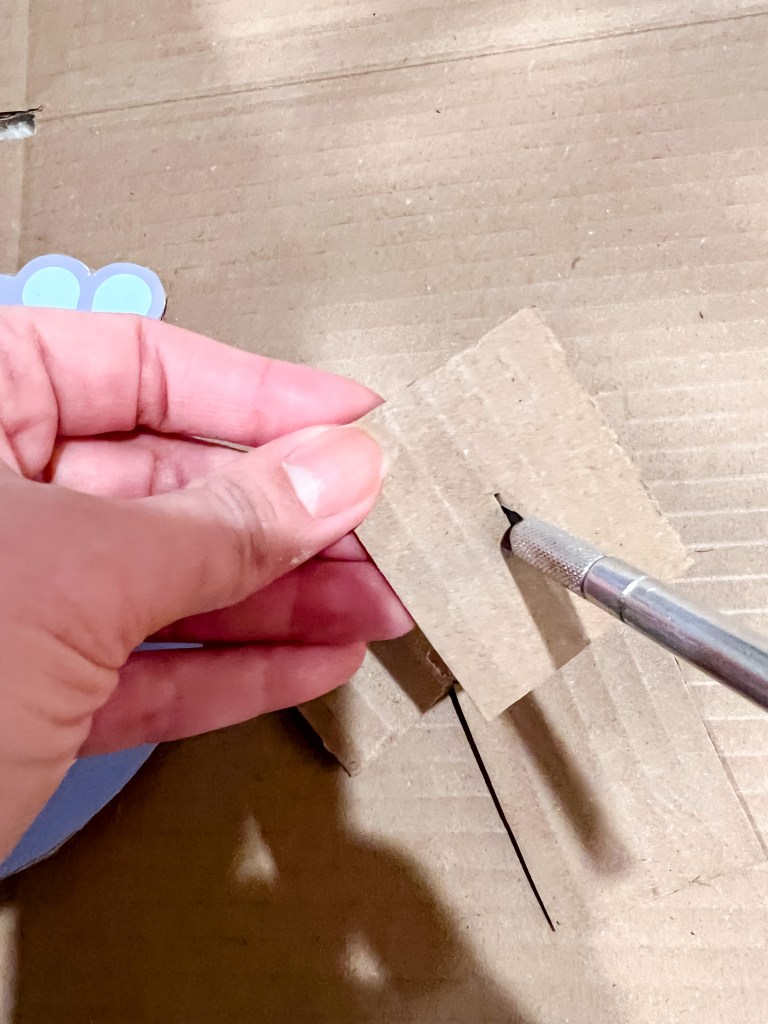
On one of the squares, cut a small slit large enough to fit a paper fastener
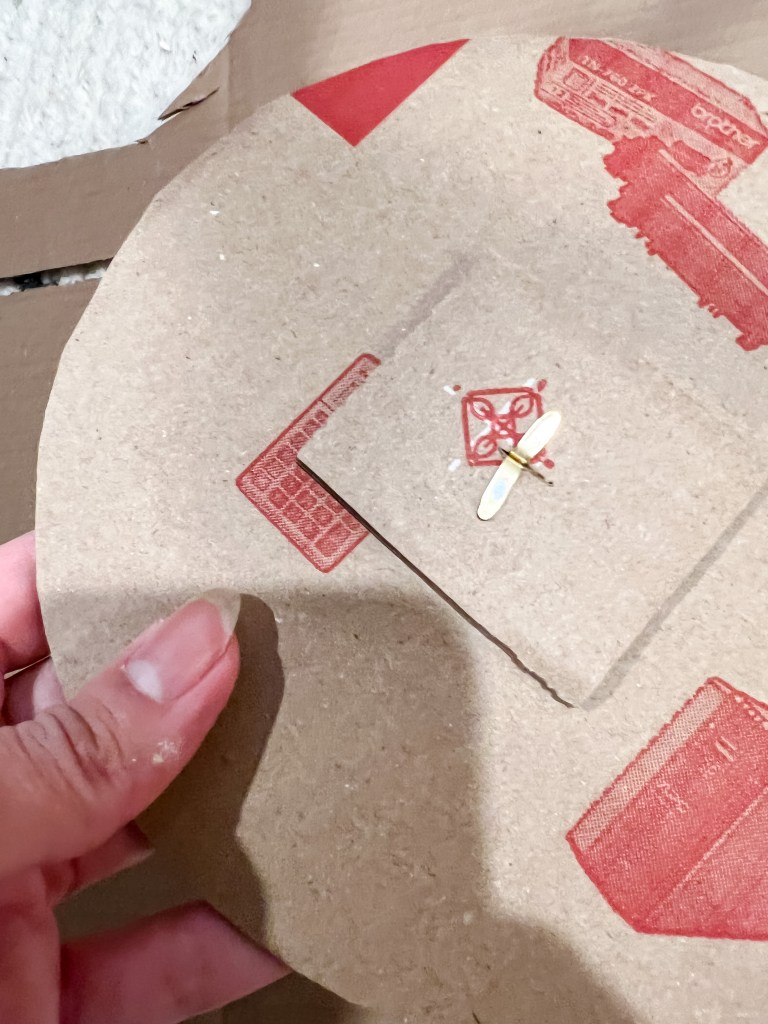
Assemble the steering wheel and square with slit using the paper fastener
This will allow the steering wheel to rotate
Use a hot glue gun to stack the rest of the pieces
Hot glue the sides of the dashboard to the sides of the car body and hold together until it dries
Hot glue the steering wheel to the dashboard
Add exterior printables
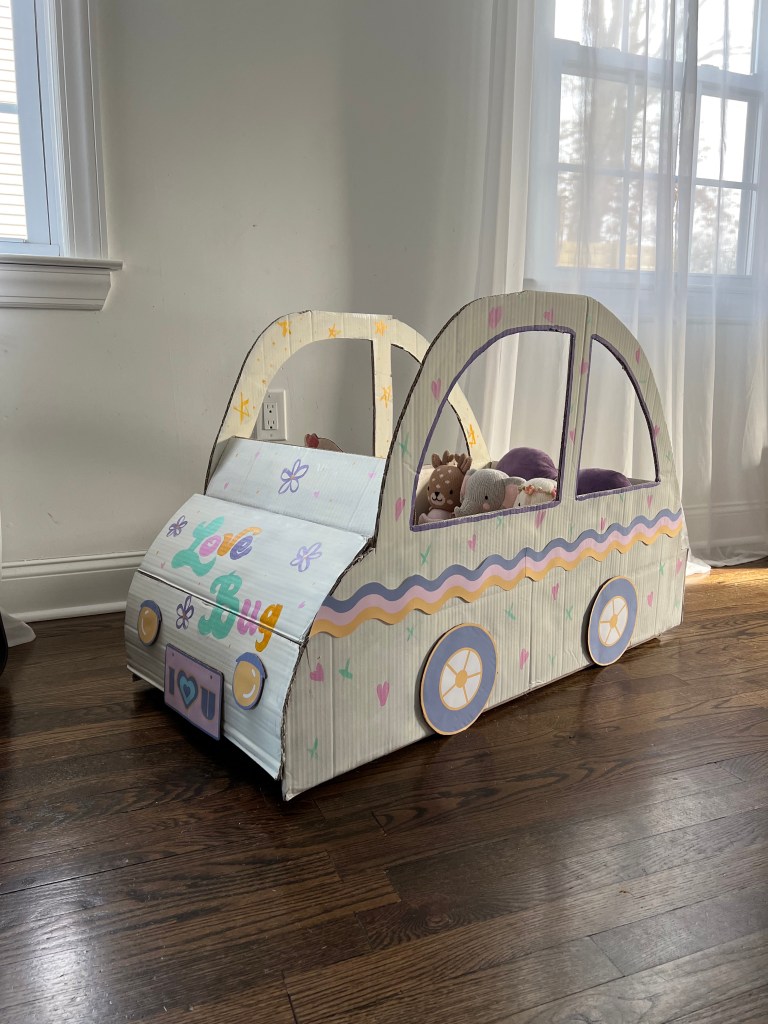
Have fun painting!


One thought on “Cardboard Punch Buggy DIY Collab x Hopscotch City”